Visual Studio Code on macOS
Don’t want to use Visual Studio for your C++ homeworks? Same. Here’s how I set up VSCode for debugging C++ properly on macOS.
These instructions are written specifically for macOS users.
As of the writing of this guide, I am using
- MacOS Sonoma 14.2.1
- Intel processor
- MacBook Pro 2020
Extensions
Required Extensions:
- CodeLLDB (vadimcn.vscode-lldb)
Recommended Extensions: - C/C++ Extension Pack (ms-vscode.cpptools-extension-pack)
- Clang-Format (xaver.clang-format)
Optional Extensions: - CodeSnap-plus-fix (eugenejeon.codesnap-plus-fix)
- Lets you take pretty screenshots of your code, like this:
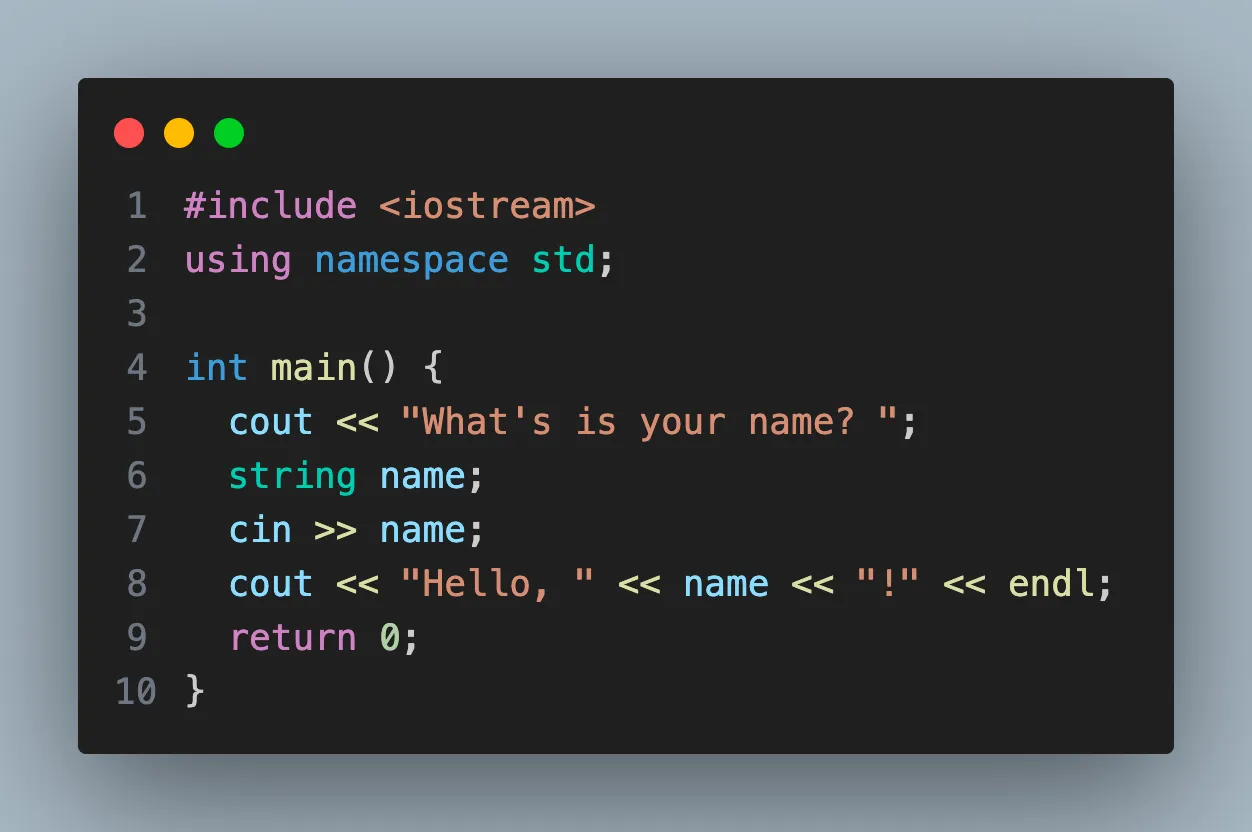
- Lets you take pretty screenshots of your code, like this:
- Error Lens (usernamehw.errorlens)
- Highlights errors and warnings much more prominently:
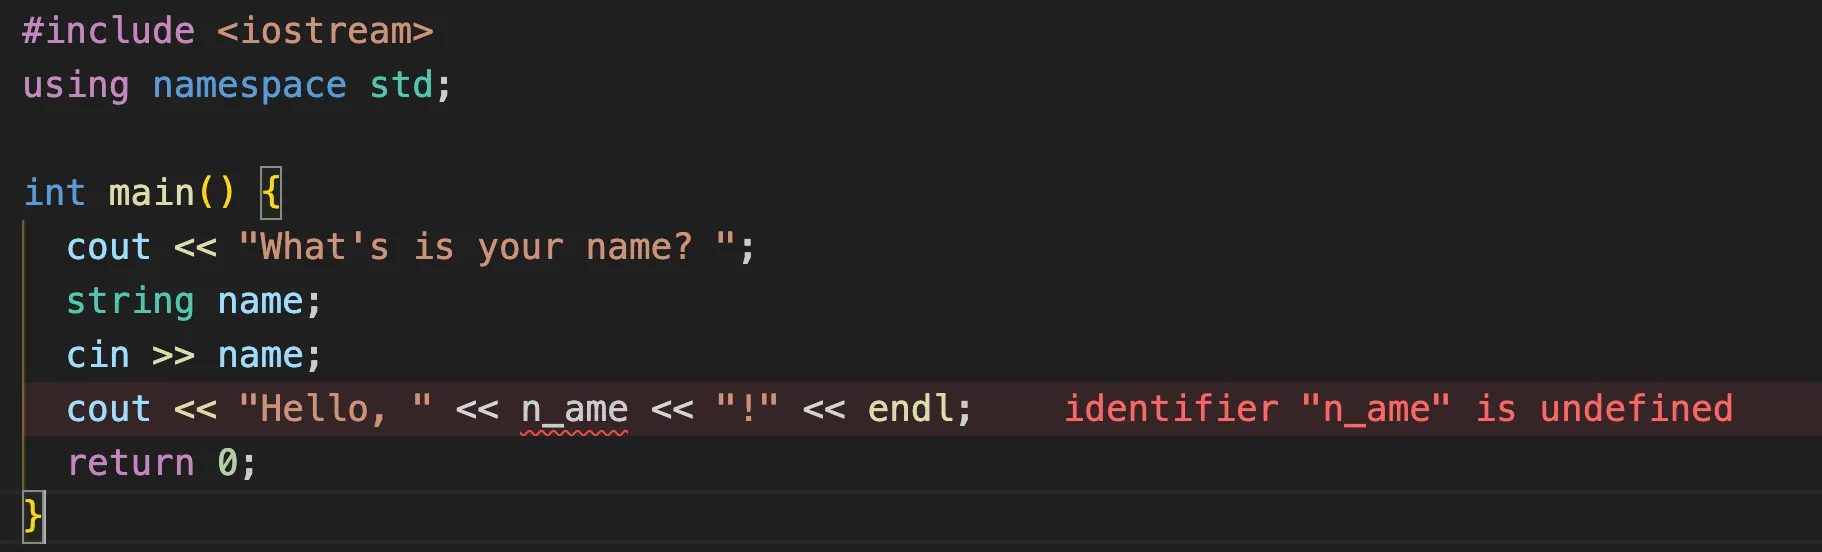
- Highlights errors and warnings much more prominently:
- Diff tabs (JozefChmelar.compare)
- Allows you to compare text input, great for seeing why the auto-grader is failing you
- GitHub CoPilot
- 🤫
Super Important Part
After you install the CodeLLDB extension, open the command palette (CMD+SHIFT+P), and run >open extensions folder.
Next, delete “vadimcn.vscode-x.x.x/lldb/bin/debugserver”.
If you do not do this, you will not be able to debug!
Directory Structure
coming soon